This is an old revision of the document!
Table of Contents
Cerber Network License
R&D Group introduces Cerber – the network license server and protection tool developed by CineSoft.
Supported platforms:
- Windows
- Linux (beta)
- OS X (in development)
Download
- Windows: NetworkLicenseServer-win-latest.zip.
- Linux: on request
Installation
Please uninstall previouse versions
The installation process is very similar for all supported platforms.
Make sure to run the installer with the administrator permissions:
- Windows: Right Click → Run As Administrator…
- Linux / OS X: Using “sudo”
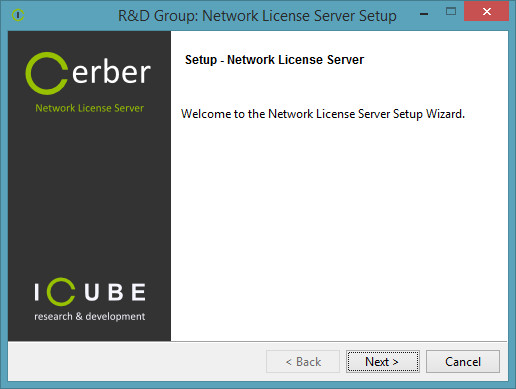
Installer has a graphical interface on all supported platforms:

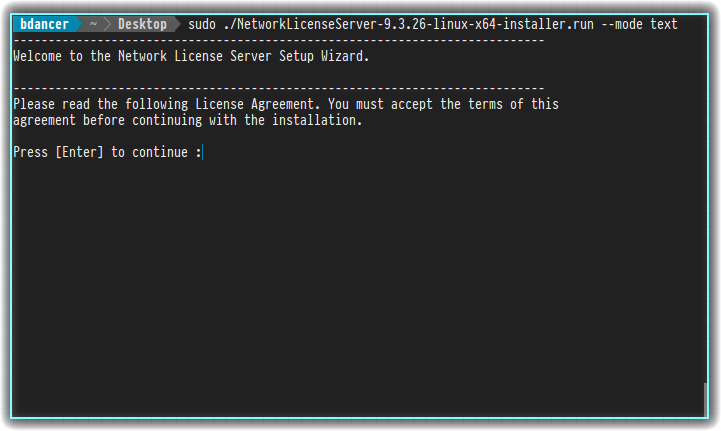
There is also a text installation mode for systems without display:

Simply press Next and leave the default settings.
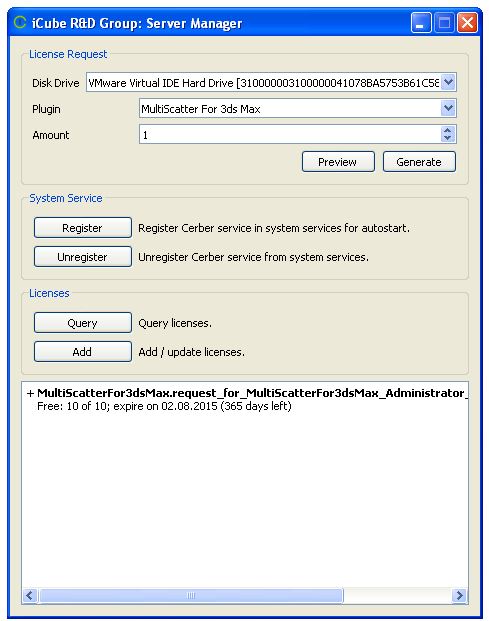
At the end of the installation process the “Server Manager” will be launched:

Now, we are ready for the license_request.
License Request
If you've closed the “Server Manager” you can find it at:
- Windows: Start Menu → R&D Group → Cerber → Server Manager
- Linux:
- Menu → R&D Group → Cerber → Server Manager
sudo /opt/rdgroup/cerber/RDGroupLicenseManager.bin
Select the plugin, amount of licenses purchased and press “Generate”.
This will generate a request_<UserName>_<HostName>_<Date>.cid and prompt you to save it.
Send this file to mail@rendering.ru
Please, attach copy of you receipt or order number to avoid any delays in communication.
In the nearest time (usually within 24 hours) you will get an email from us (or your reseller) with *.lic license file attached. Save this file on your hard disk.
After you've received the *.lic launch the “Network License Manager” again and press “Add”, select the received file and press “Open”.
This will copy the license file to the Cerber licenses directory.
You could also manually copy the license file to the Cerber licenses directory:
- Windows:
C:\Program Files\R&D Group\Cerber\licenses
- Linux:
/opt/rdgroup/cerber/licenses
Now you need to press “Query” and check if license is successfully applied.
Here is an example of successful licenses installation:

or in command line:
/opt/rdgroup/cerber/bin/cerberQuery.bin localhost:45444
Client Configuration
Now we are ready to configure clients.
After the installation of any our software that supports Cerber you will find “License Manager” under:
- Windows: Start Menu → iCube R&D Group → Cerber → License Manager
- Linux:
- Menu → iCube R&D Group → Cerber → License Tool
- or
sudo /opt/rdgroup/cerber/RDGroupLicenseTool.bin
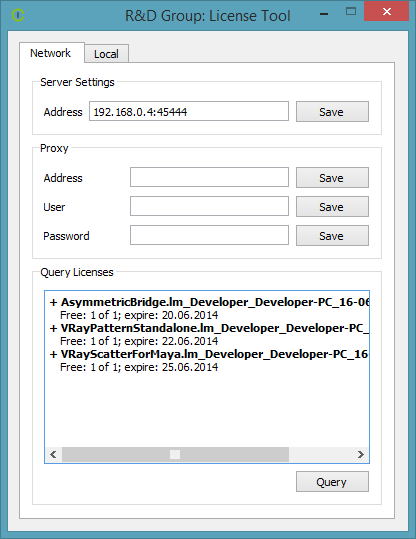
We will only need the “Network” tab.
Enter the address of the server you've installed Cerber Server Manager on and press “Save”.
Use “Query” to check if everything works. and restart the client PC

Please note, for large scale installations you can simply create environment variable on client PCs, there is no need to have the License Manager installed at all details can be seen below
For Administrators
Client configuration
When pressing “Save” “License Manager” simply creates RDGROUP_CERBER_ADDRESS environment variable (SYSTEM), so you can create it with any desired tool or manually.
Make sure to set correct port number: R&D Group Cerber uses port 45444.
Make sure to open this port (45444) in your firewall!
Additional variables: RDGROUP_CERBER_PROXY_ADDRESS, RDGROUP_CERBER_PROXY_USER and RDGROUP_CERBER_PROXY_PASSWORD.
On Linux “License Tool” will store environment settings under:
/etc/profile.d/rdgroup.sh
Example content of the /etc/profile.d/rdgroup.sh file, e.g server address 192.168.0.123:
# R&D Group Environment Settings
#
export RDGROUP_CERBER_ADDRESS="192.168.0.123:45444"
export RDGROUP_CERBER_PROXY_ADDRESS=""
export RDGROUP_CERBER_PROXY_USER=""
export RDGROUP_CERBER_PROXY_PASSWORD=""
Paths on the server
You can install licenses (lic files) manually; simply copy them to:
- Windows:
C:\Program Files\R&D Group\Cerber\licenses
- Linux:
/opt/rdgroup/cerber/licenses
Troubleshooting
Problems with launching “Server Manager”
its also possible to generate .cid file from command line:
open command prompt as administrator (right click “run as administrator”) change to directory
cd C:\Program Files\"R&D Group"\cerber\bin
then type the following
cerberProbe > my.cid
for linux:
/opt/rdgroup/cerber/bin/cerberProbe.bin > my.cid
this will create my.cid file in C:\Program Files\R&D Group\cerber\bin directory
please send it to us stating plugin name and amount of licenses,
received .lic file will need to be copied manually to C:\Program Files\R&D Group\Cerber\licenses
Error getting license on server
- check the license server by pressing “query” in Server Manager
- check that .lic file exist at C:\Program Files\R&D Group\Cerber\licenses
- restart “Cerber license manager” service by clicking on “Unregister” then “Register” in Server Manager GUI
- check that “Cerber license manager” service is running
Error getting license on client PC
- check that the client PC can connect to the server by pressing on “query” in License utility (if the license utility cannot connect to the server, it will produce blank result or crash after you click on “query”)
- check for any errors on the server first, make sure it successfully query the license on the server itself.
- check the network connection between client PC and the server, and the firewalls or any other security software , and make sure port 45444 TCP/UDP is open on both
- make sure you restart a client PC after you assigned server address and port (for environment variable to become active)
- if the License utility on the client PC shows the license, but Maya or 3ds max still produces license error, please check the output from running the following commands, to confirm that environment variable setup correctly.
- on linux, make sure you use full hostname of the server, or IP
- make sure you don't input anything in proxy field unless required
in Maya:
getenv RDGROUP_CERBER_ADDRESS
or in 3ds max, open MAXScript Listener and run:
systemTools.getEnvVariable "RDGROUP_CERBER_ADDRESS"
it should produce your server and port address